
1. Create a new e-ticket layout in Events > Tools & Templates > E-Ticket Layouts, enter the required information and click ‘Save & Next’.

2. The next screen is the Layout Editor. In the editor toolbar click on the background image icon.

3. A pop-up window will then appear where you can define the settings for a background image. Enter the URL of the externally hosted image in the appropriate field, set the ‘Repeat value’ to no-repeat and the ‘Attachment’ setting to fixed. Ensure your image is the correct size for the e-ticket you are creating, in this example we are using a high resolution A4 sized image; 2480px wide x 3507px high.

4. In the same pop-up, set the ‘Width’ value to 100% and press ‘Ok’.

5. The background image is then applied. Now you have to extend the ticket area to reveal the background image. Just add some space using the ‘Enter’ key to create empty lines under the ticket section.

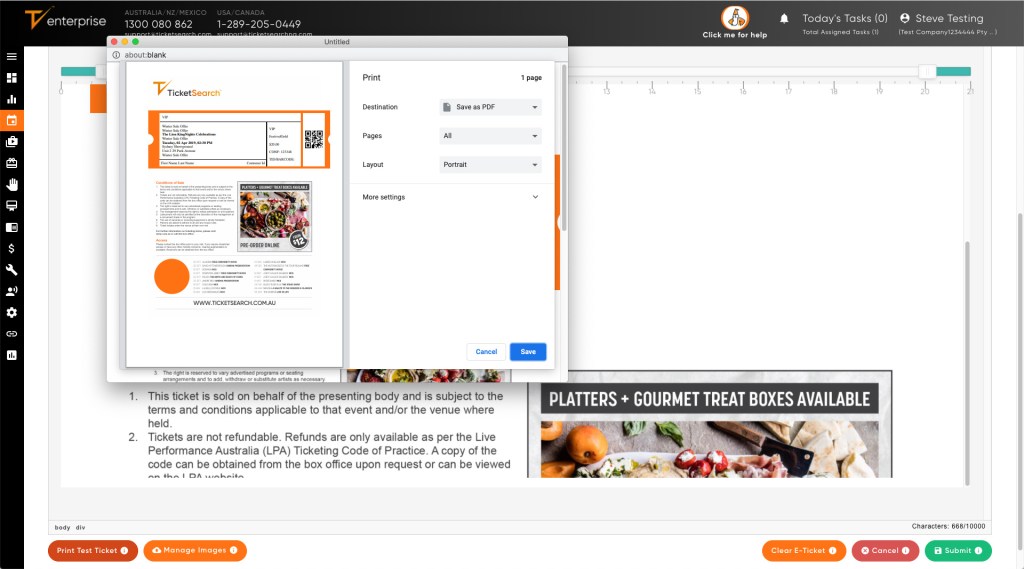
6. Use the ‘Print Test Ticket’ button at the bottom of the Editor window to preview the e-ticket. The pop-up will display how the e-ticket will look as a printed document or PDF. Use this as a guide when placing elements over the background image and page formatting.

7. For example, you can see in this preview that more space is needed under the ticket section to reveal the entire background image.

Once more space has been added, the entire image becomes visible.

8. Now you are ready to add, edit or delete other elements that are part of your e-ticket. In this example, text above the ticket has been deleted and more space added.

Remember to preview using the ‘Print Test Ticket’ button. Here you can also print the document or export a PDF file to view the end result.

9. You can also access the source HTML and make adjustments directly into the code by clicking the ‘Source’ button in the Editor toolbar.

For example, we have located the background colour of the e-ticket frame and changed it using a hexadecimal value (https://www.google.com/search?q=color+picker).

10. The e-ticket is now ready. Click the ‘Submit’ button to save your template.
